Wire bond inspection
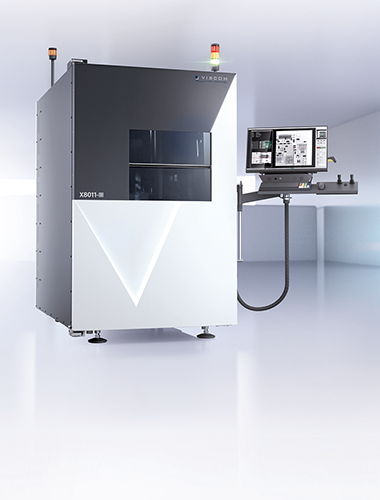
![[Translate to Chinese:] [Translate to Chinese:]](/fileadmin/content/products/Optical_Inspection_3D_AOI/iS6059_PCB_Inspection/Viscom_iS6059_PCB_Inspection.jpg)
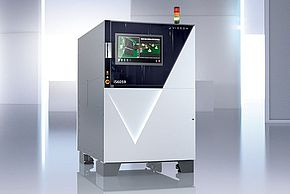
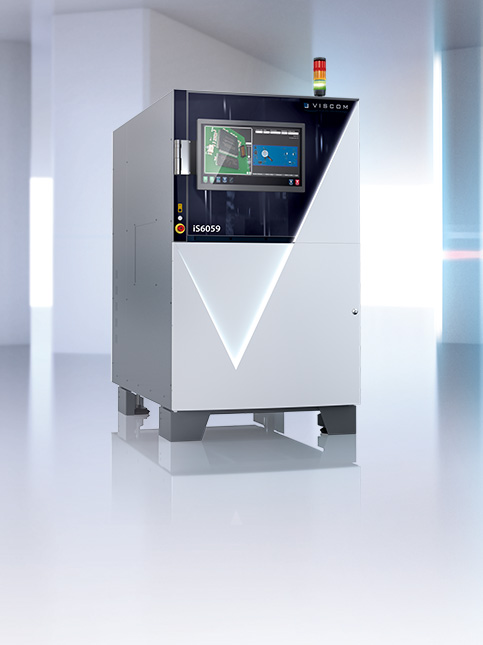
iS6059 Wire Bond Inspection – High-Performance Automatic 2D & 3D Wire Bond Inspection
With the iS6059 Wire Bond Inspection system, Viscom offers the best inline technology and top performance for the automatic optical inspection of wire bonds. Where high throughput is a must, dual-track operations can significantly cut inspection times. The system is particularly easy to configure beyond standard specifications to meet customer-specific needs. Even large inspection objects can then be inspected safely and effectively.
The high-precision inspection in 2D and/or 3D guarantees reliable defect detection for ribbon, die, ball-wedge, wedge-wedge, and security bonds as well as ribbons. The inspection scope can be customized beyond standard defects for additional applications. Damage and misplaced components are also reliably detected. The powerful Viscom inspection software performs combined inspection of wire bonds and SMD assembly. A high-resolution camera captures all bond positions and wires. The inspection scope includes wire paths, dies, and component positions. It does not matter whether the connections are made of copper, aluminum, or gold, or whether they are ribbon, thick wire, or thin wire.
With Viscom's powerful SPC evaluation, numerous conclusions regarding the process can be made. As a result, defect causes are reduced to increase production quality. Remote diagnosis, worldwide maintenance and a Service hotline complete the offer.
INSPECTION SCOPE
- Impressive XM high-performance cameras
- Scalable, modular sensor technology and 3D measurement function
- Targeted configuration: highest resolutions including height information
- Unique analysis of bond wires and ribbons of all common materials and thicknesses
- Tested freedom from slippage thanks to integrated verification
- Also ideal for customised transport variants
- Independent real-time image processing from Viscom with analysis tools
- Global libraries, global calibration: transferability to all systems
- Diverse transport concepts
- Traceability, offline programming, statistical process control
- Communication with MES systems
| Wires: | course / bending / neighbourhood / height profile, up to approx. 20 µm diameter, all common materials |
| Wedges and balls: | position / shape / contamination of the pads |
| Ribbons: | Progression / bending / neighbourhood / height profile / waffle imprint |
| Conductive adhesive and placement control: presence / position / connection / contamination | |
| Optional: | all typical tests for PCBs |
| DIMENSIONS | ||
| System housing: |
1100 mm x 1753 mm x 1756 mm (W x H x D) | |
| INSPECTION | ||
| Sensors: | XM-Bond HR-II | XM-Bond 3D |
| Orthogonal camera | ||
| Resolution: | 5 μm | 4.5 μm |
| Field of view: | 25 x 25 mm² | 23 x 23 mm² |
| HANDLING | ||
| Maximum substrate size: | up to 300 mm x 400 mm (L x W)* | |
| SOFTWARE | ||
| User interface: | Viscom SI EasyPro | |
| Statistical process control: | open interface (optional) | |
| Verification station: | HARAN | |
| Remote diagnosis: | Viscom SRC (optional) | |
| Programming station: | Viscom PST34 (optional) | |
| * Depending on the selected system configuration |
ADVANTAGES AT A GLANCE
- Exact inspection and measurement in 2D and 3D possible
- High-performance inspection software from Viscom
- Extremely high accuracy and inspection depth
- Camera technology adapted to the respective inspection task
- Flexible transport concepts for high cycle rates
- Expert service worldwide – online, by phone, and on-site

